Cross Account Buckets
Yarkon is the only browser that supports cross account buckets, meaning, Yarkon can show in a single interface buckets from multiple accounts.
To be able to expand the list of buckets displayed to end users from the buckets in the account the Yarkon user/role belongs to, to other accounts under your control, you need to follow the steps described below.
Assumptions
For the purpose of this guide, we make the following assumptions:
- Yarkon is using
account-primary. This means that:- If you are using Yarkon SaaS, the IAM user that provides the credentials is in
account-primary. - If you are using Yarkon Server, the server is deployed in
account-primary.
- If you are using Yarkon SaaS, the IAM user that provides the credentials is in
- You control another AWS account named
account-secondary, and you would like to give Yarkon access to a bucket in it. - You have full control on both accounts and can make changes to IAM.
Make sure you have the account IDs in front of you before you start.
Account-secondary
Start with creating a bucket, so we can test the process before implementing it for existing buckets. Most of the work done here can be reused later.
- Create a bucket named
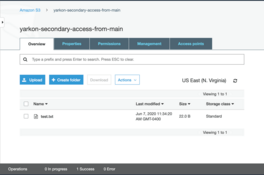
yarkon-secondary-access-from-main. - Upload a test file to the bucket, so we can later test user access.
Under the Permissions tab for the bucket, create the following bucket policy:
{
    "Version": "2012-10-17",
    "Statement": [{
        "Sid": "AllowAccessFromMainAccount",
        "Effect": "Allow",
        "Principal": {
            "AWS": "arn:aws:iam::<main-account-id>:root"
        },
        "Action": [
            "s3:*"
        ],
        "Resource": [
            "arn:aws:s3:::yarkon-secondary-access-from-main",
            "arn:aws:s3:::yarkon-secondary-access-from-main/*"
        ]
    }]
}
- Make sure to replace the placeholder
<main-account-id>with the account ID of the main account (the other account, not the one where the bucket was just created). - In this sample, we use shorthand to define the permissions, but you can of course limit the allowed S3 actions using the
Actionlist as always.
Account-main
Create a policy allowing Yarkon to access the target bucket. Use the following for the policy:
{
    "Version": "2012-10-17",
    "Statement": [
        {
            "Sid": "AllowAccessToBucketInSecondaryAccount",
            "Effect": "Allow",
            "Action": [
                "s3:*"
            ],
            "Resource": [
                "arn:aws:s3:::yarkon-secondary-access-from-main",
                "arn:aws:s3:::yarkon-secondary-access-from-main/*"
            ]
        }
    ]
}
and name it yarkon-main-provide-access-to-secondary-bucket.
Identify the IAM role used for Yarkon. If you cannot recall its name, you can always get it from the Yarkon Admin Console, Administration section, Access tab.
- Attach the policy
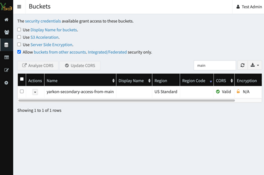
yarkon-main-provide-access-to-secondary-bucketto the role. - Go to the Yarkon Admin Console, Buckets page, and refresh the list. You should now be able to see the bucket from the secondary account listed.
- Use this opportunity to set the CORS for the bucket, using the Yarkon UI.
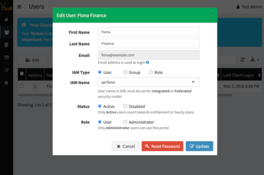
The next step is to allow specific users access to the bucket. Start with choosing the user. In this example, we are going to update the access for our Finance user named Fiona, who has the IAM user qa-fiona attached.
Going back to AWS IAM, simply attach the policy yarkon-main-provide-access-to-secondary-bucket to the IAM user qa-fiona.
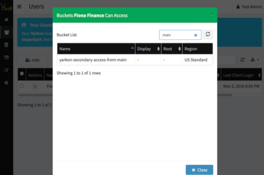
If we now check the list of buckets this user can view, we'd see the bucket from the other account listed.
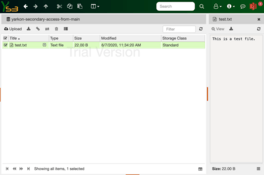
To complete the process, go to the Yarkon Client and log in as the user you just updated. The bucket from the other account should be displayed now, and the file added visible and accessible.
Verify using Yarkon that the bucket is fully operational, based on the permissions allowed in the bucket and IAM policies above.
